BEATEN OLIVES… Don’t you love the sound of this!!!
The process of preparing beaten green olives is simple, but takes about 10 days to taste any good… Once prepared and ready to eat there is only one flaw… when you start eating them, you can't stop!
The preparation process is time-consuming and quite demanding but we can also take it as a form of meditation, at least during the first phase of preparation. And here's the thing… For us, it’s quality time with the kids. We sit around banging these little buggers on the table, having competitions who can get the most in the bucket with lots of laughter.
Phase 1: Beat the Olives
Beat the olives with a stone, flat end of a meat tenderizer, a mallet, or the bottom of a bottle. You’ll want to beat the olive enough to pop the pit out, but not so hard that it breaks the olive into two pieces. Remove the pip and transfer the beaten olives from the board to a bucket. Ten days of treatment awaits them.
Phase 2: Cure the Olives
Whether you have prepared a kilo of olives, or ten, the procedure is the same. The beaten olives should be placed in a bowl and covered with salted boiling water. After the water has cooled, the olives lie in it until the next day at the same time, when we repeat the process. Store the olives in a cool area of your home. The amount of salt depends on the taste, you can ask any Greek or Italian and they will tell you "for a kilo of olives, throw in a handful of salt." Make sure you keep the olives under the water so they don’t oxidize and turn a brownish colour.
Phase 3: Marinate the Olives
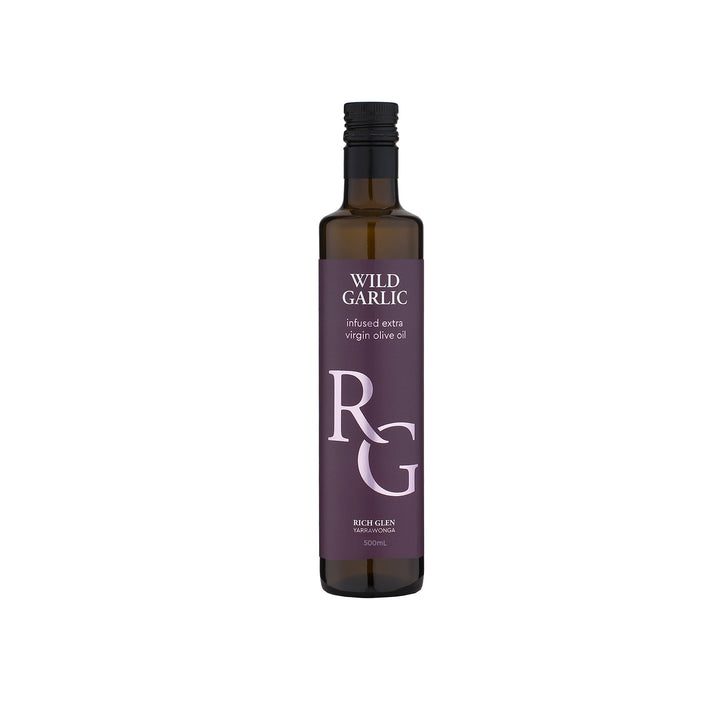
After the olives are no longer bitter (approximately 10 days), taste to test, drain them and put in a jar. Add Wild Garlic Infused Olive Oil a few peppercorns and a sprig or two of fresh rosemary. After marinating for 24 hours, the beaten olives are done and can be kept in the refrigerator for many months. Just bring them to room temperature before serving so that the extra virgin olive oil liquefies again.
Enjoy!


